Hey Uncle Jeff,
My class is excited to see where you are going to fly to. Can you please send us a map of where you are going.Hi jeff i am Dawson i am being pretty annoying right now.
Question from Samantha Miller
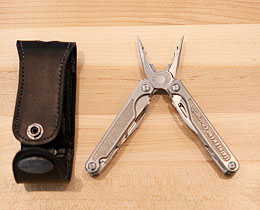
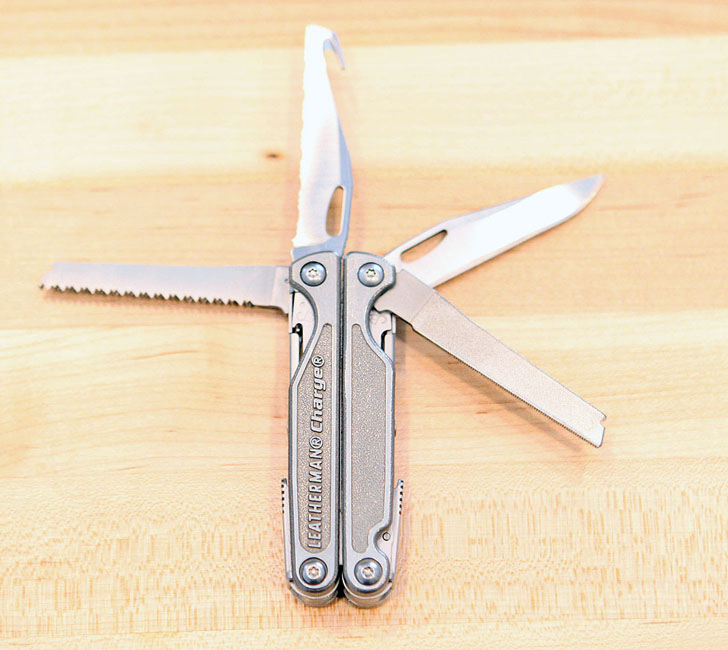
Leatherman Titanium Charge Multi-Purpose Tool
The Leatherman Charge Titanium Multi-purpose tool is highly recommended by Doug Ritter of survival training fame.
It took me about 15 minutes to become comfortable with using it. Extricating all of the tools is confusing at first, but once you get the hang of it…it’s simple.
It has quite a good scissors, knives, metal and wood files, screwdrivers, needle nose piers, can opener and more.
April 18th, 2009 Corpus Christi, TX to Tuscon, AZ and back home.
Allan and I had a wonderful Texas barbecue and then continued our journey to Tuscon, Arizona. It was the longest flight, we were about done with flying when we got there more than 6 hours later.
We flew up the Mexican border watching the Rio Grande river most of the way.
We quickly filled up at Atlantic Aviation, which seems to be our favorite center to fill up. Nice bathrooms and amenities. Nice people.
Then we did a quick night flight back to Van Nuys…we were pooped!
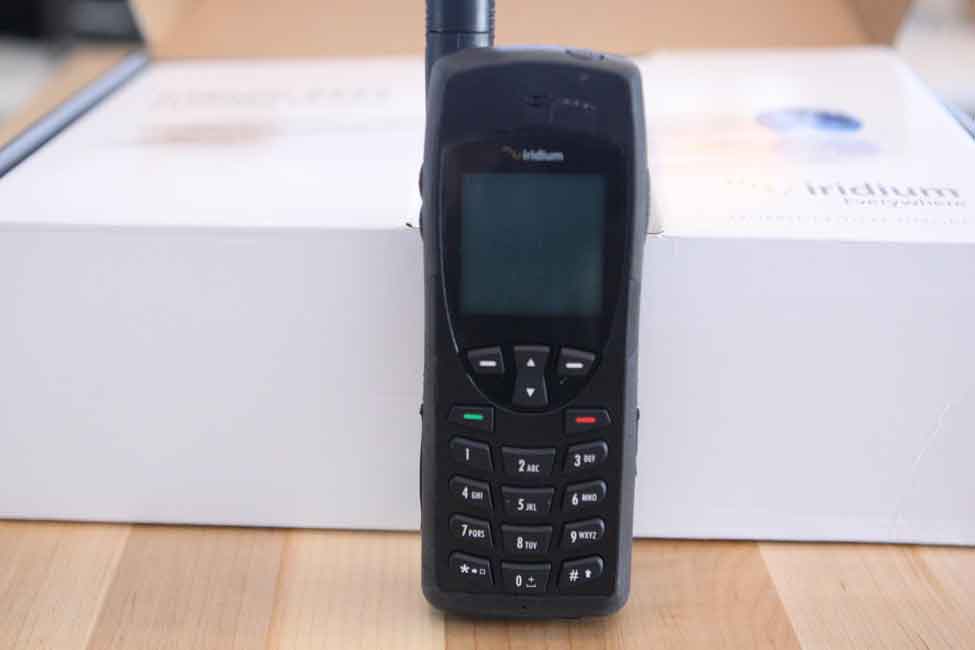
Iridium 9555 Satellite Phone works anywhere in the world.
I have been testing my satellite phone while flying to Florida and back. I received reception everywhere I was in the sky. The phone cost me $1600 and $1.49 per minute. While this is not cheap, I do consider it essential. And it is really fun talking along the route I’m flying with my friends.
I connect it through a device I bought from Sporty’s right into my Bose noise canceling headset.
Hopefully, I won’t have to call my friends from the middle of the North Atlantic floating in a raft to tell them I might be late for dinner ![]()
ACR MicroFix II 406 MHz GPS Personal Locator Beacon
A PLB (Personal Locator Beacon) is a must have whether you are flying over land or sea. It transmits both on 406 MHz to the satellites above and on 121.5 MHz so that SAR can track your signal as well it sends you GPS position.
This ACR MicroFix II is a third generation PLB and it costs $599.99. It can make the difference of a long wait, if ever, for a rescue and a quick find by SAR.
Pilots flying without such an emergency device attached to their person should rethink their emergency procedures.
- ACR MicroFix II Personal Locator Beacon 406 MHz with GPS
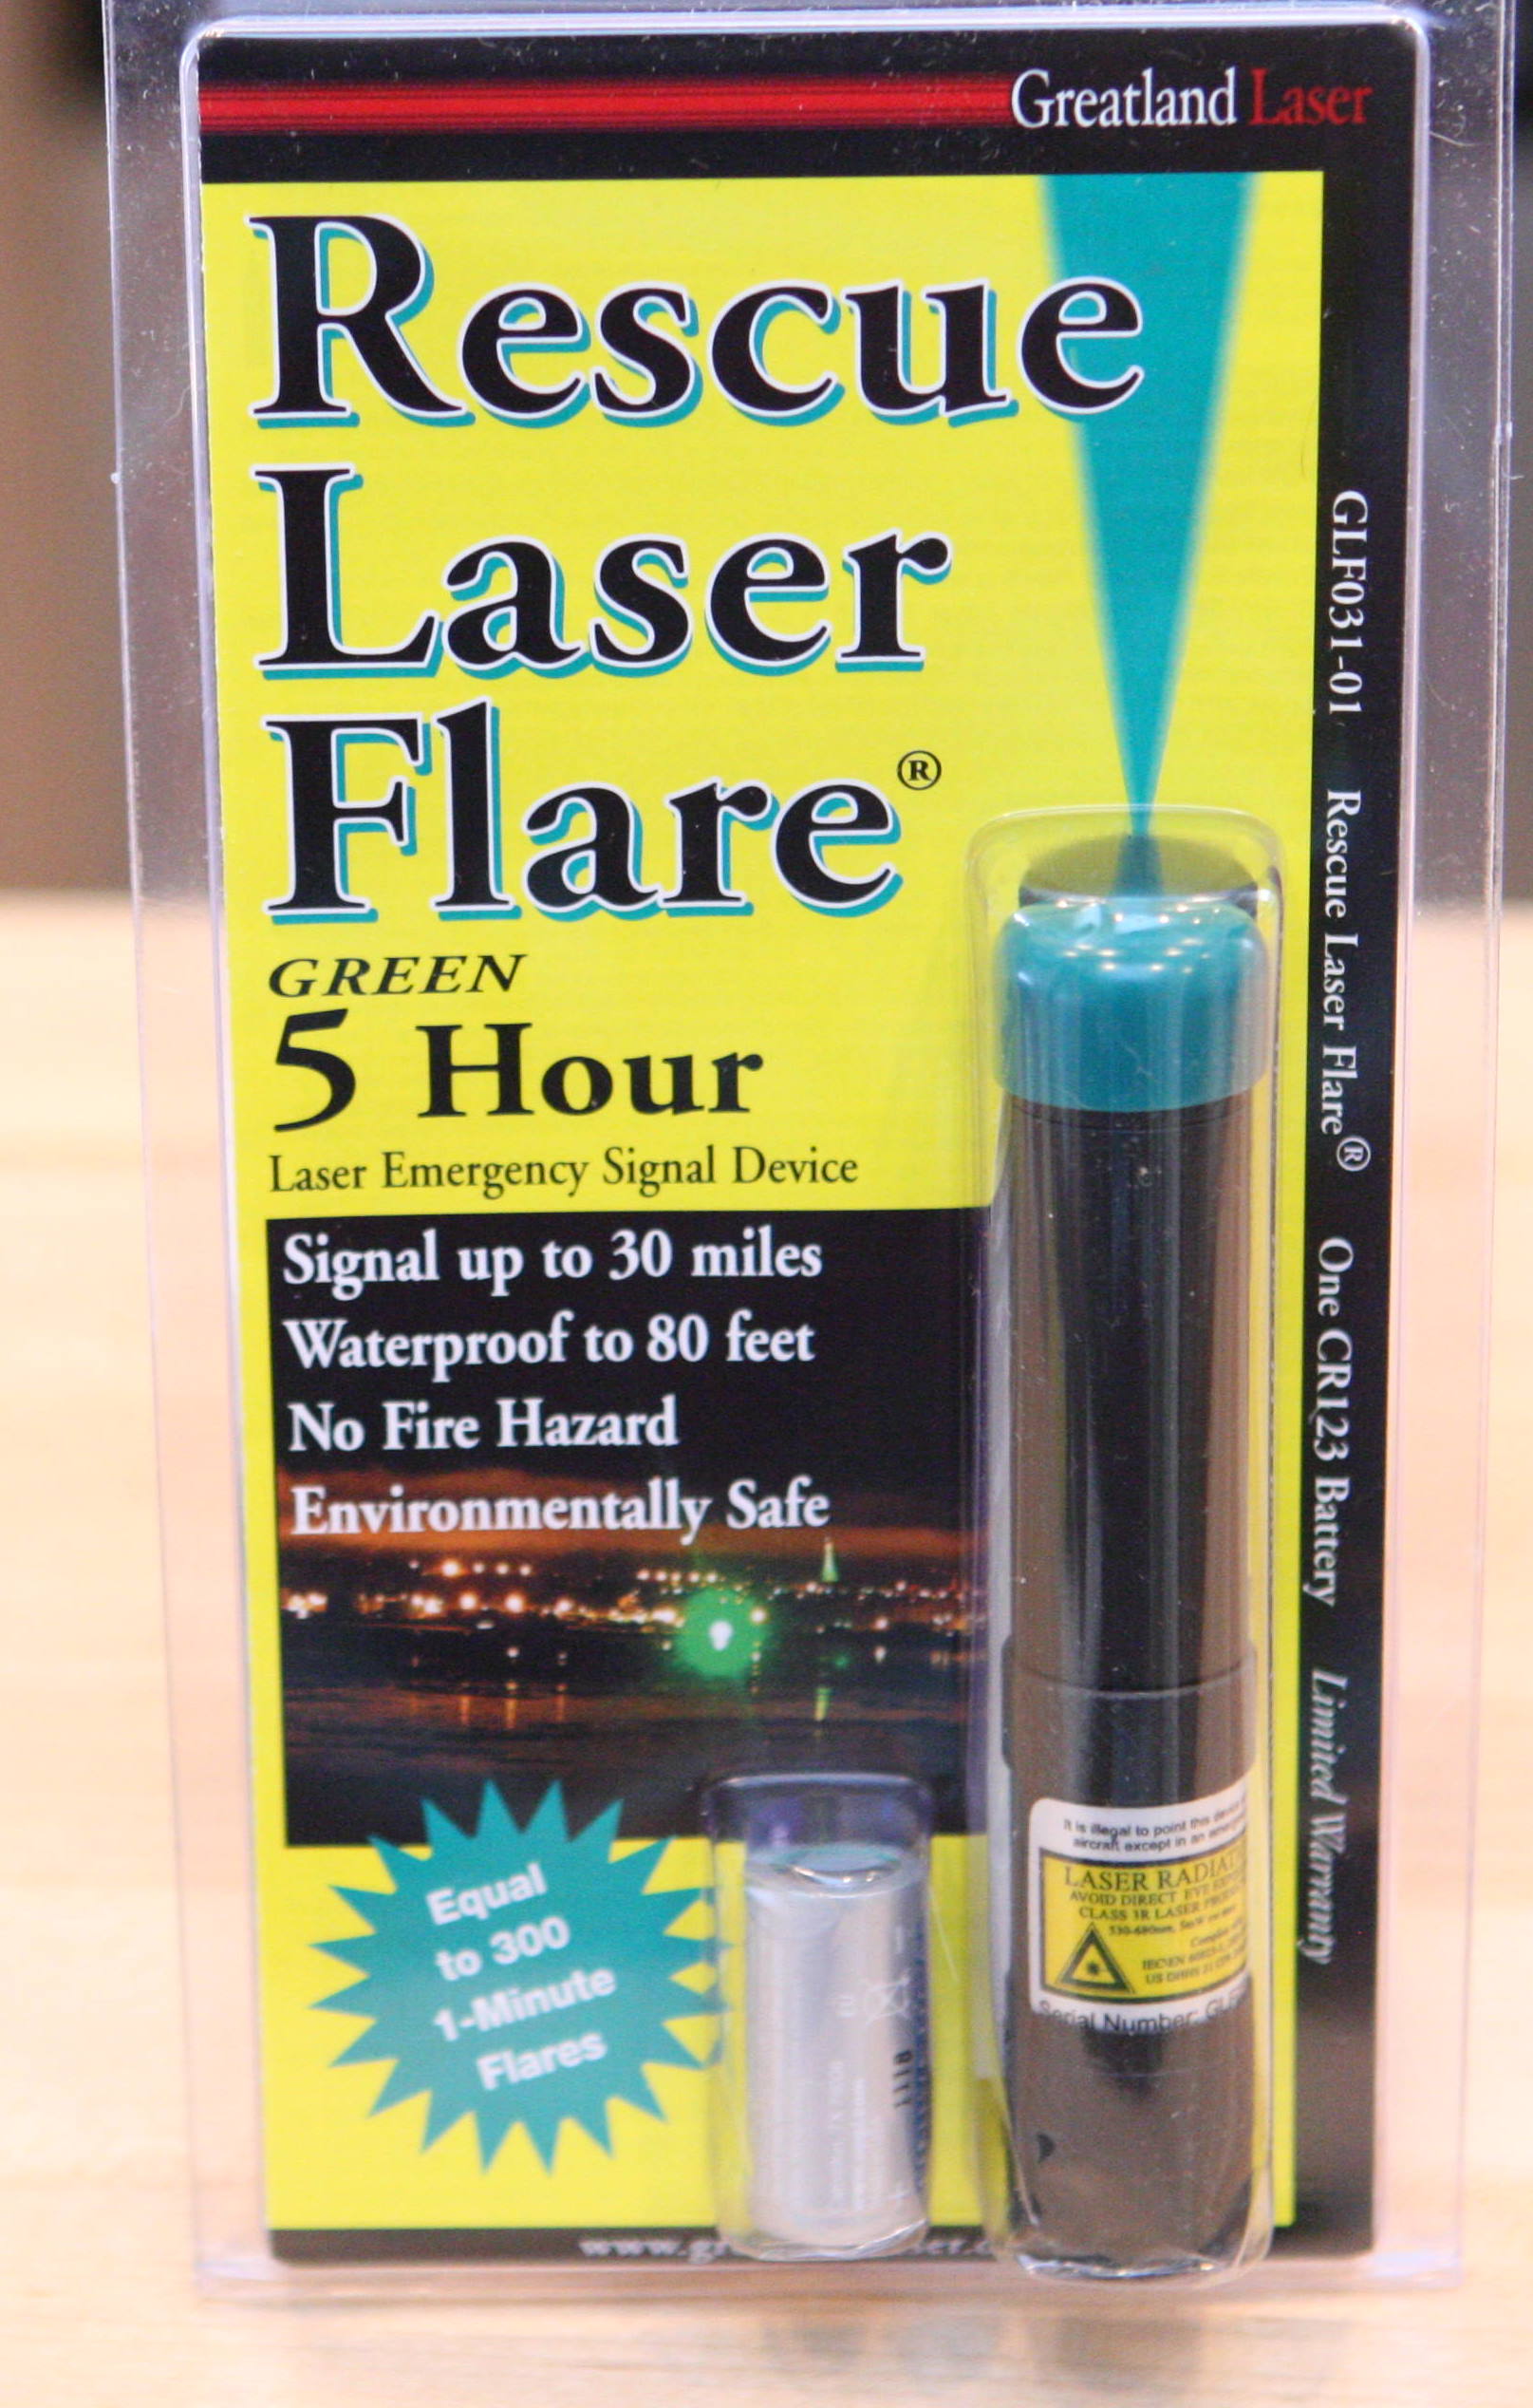
Green Laser Signal Light
Greatland Green Rescue Laser can be seen 30 miles by an aircraft searching for you. It costs $249.95. You could select the red laser which can be seen for 20 miles and only costs $109.95, but if I’m floating in the water or down in the wilderness I want my best chance of being seen. I will never fly without it!
The beauty of the laser is that it lasts for 5 hours, much better and safer than a pyrotechnic flare that is done in a few short minutes.
Who thought there could be a funny story about an immersion suit?
Funny and scary!
I ordered a custom made immersion suit from Survival One. This is a top of the line Gortex and Nomex dry suit with a front diagonal zipper entry.
I just got back home at 2 a.m. from our journey to Florida and back. There sat my new bright orange immersion suit and I couldn’t wait to try it on. My living room was dimly lit when I donned the suit. It was very difficult to put it on, but I had never tried one before. I thought once on it would fit correctly…NOT!
I started to panic as the rubber collar had not yet been cut to size so my head was turning red from a lack of circulation and my eyes started buldging. It was the same as being strangled. At the same time, I was starting to overheat adding to the panic. There was no one here to help me so I started to rip the suit off my shoulders so I could release my head. No luck…now I was overheated, sweating, panicking and trapped in what felt like a straight jacket.
I said to myself, don’t panic, and sat down in a chair for a moment…I considered calling a friend at 2 in the morning for help extricating myself. It felt like the black thing that covered Spider-Man’s suit that he had to rip off.
Okay, I couldn’t pull it off by myself, so I looked for some mechanical advantage…there it was, I went over to my spin bike that has forward facing handlebars. I jammed the handlebar under the zipper near my shoulder and started manipulating my body down for ten minutes…finally, I had freed one shoulder. It took the same process for the other shoulder. Wow!
Then I was able to free my head with a plopping sound from the rubber neck seal. Next, I could not free my hands from the rubber seals so I stepped on the sleeve and plopped each of them out…next my feet.
I was truly freaked out. I put the suit back in its box and left it there like a scary monster.
The next day when Kenny arrived I had him standby to help me in case I got stuck again. Sure enough, my head turned red and I told Kenny to get it off of me. He had to use two hands on each shoulder and lean back on his foot…and it still took him 2 minutes per shoulder.
Needless to say, I will never put that suit on again…it’s on its way back to Survival One.
I’m writing about this since everyone thought it was hilarious…with the exception of me. Don Ratliff laughed as said he wished he could be a fly on the wall while I was doing the immersion suit dance.
Art at Van Nuys Flight Center said he had heard a funny story about my suit. That’s when I decided to write about the event.
It wound up that they had built the neck to crotch measurement way too small. I’ve moved ahead and ordered a Switlik immersion suit. Both of them are around $1600 for those who care to know.
Winslow Life Raft company tour in Lake Suzy, Florida
I had a chance to tour the Winslow Life Raft facility in Lake Suzy, Florida on April 17, 2009.
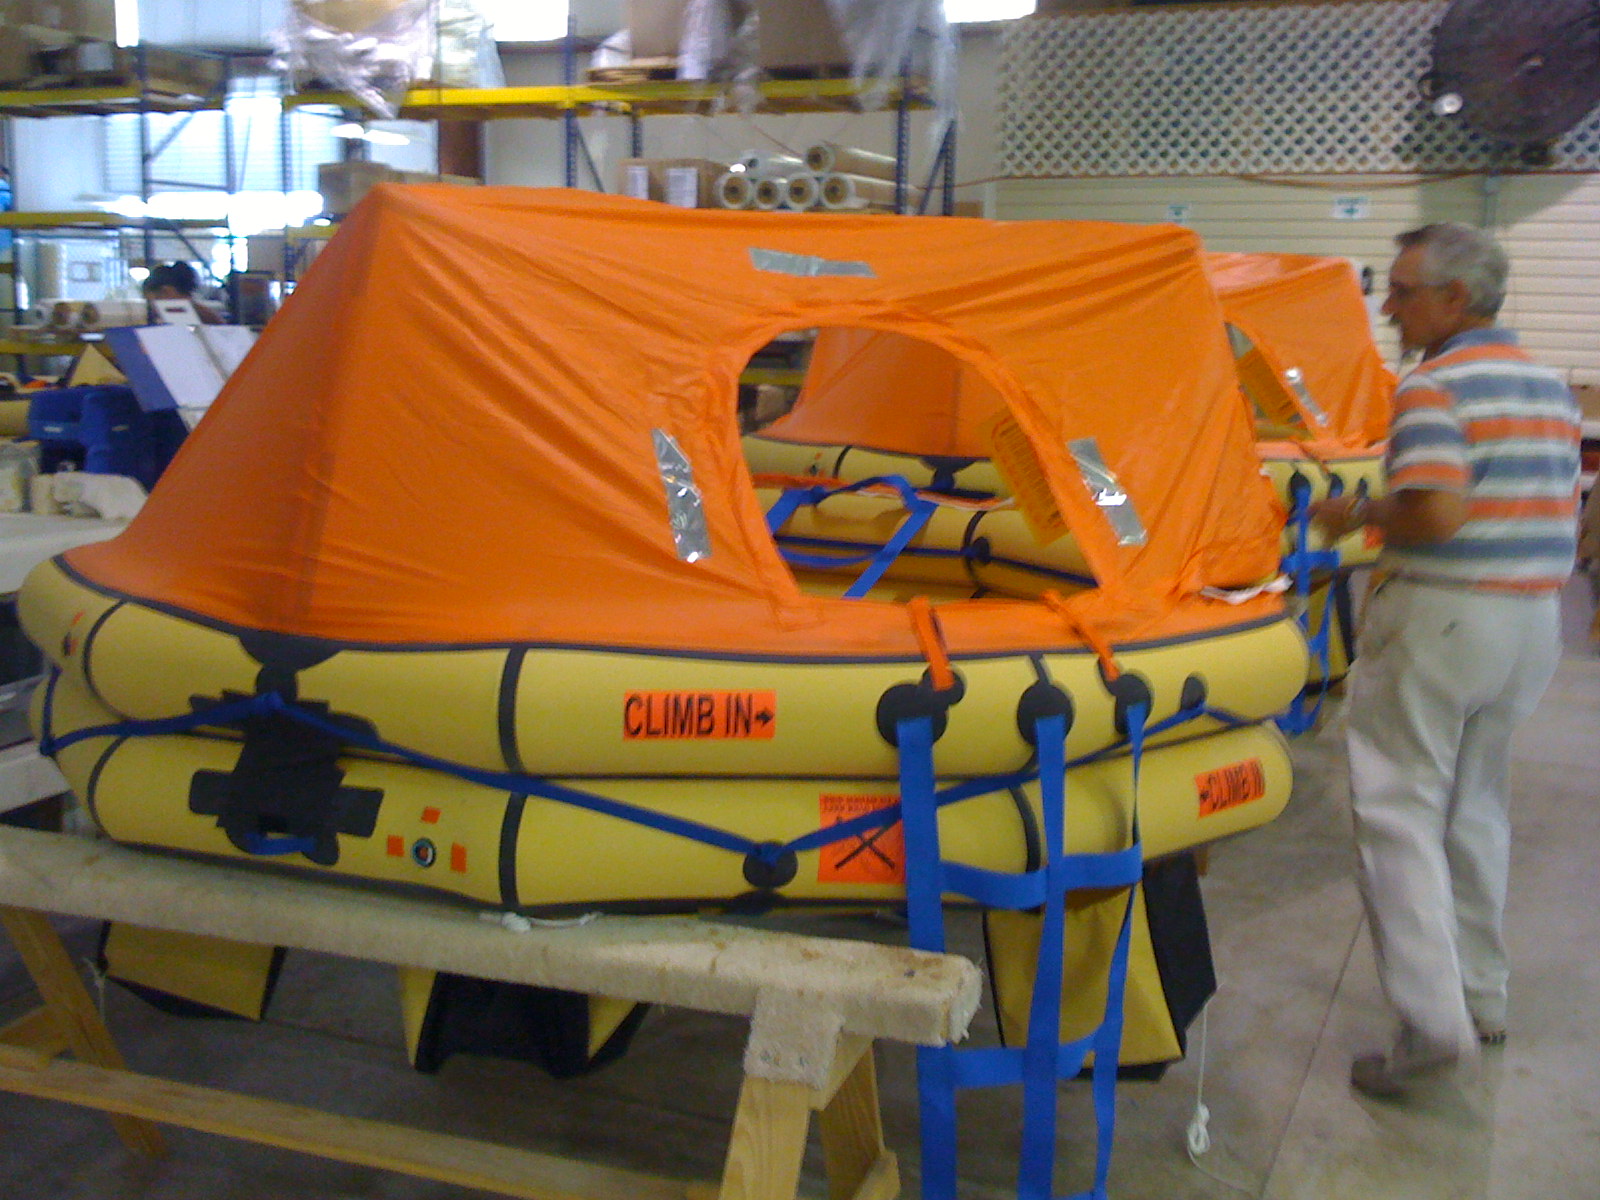
We were greeted by Sam the manager who gave us an excellent tour. You can find the pictures and explanations below. Since I am using their four person, double tubed, inflated floor, covered raft, vacuum sealed, with canopy, water sack stabilizers, sea anchor and other goodies…I thought it was a good idea to see what I was literally getting into before I happened to launch it if necessary.
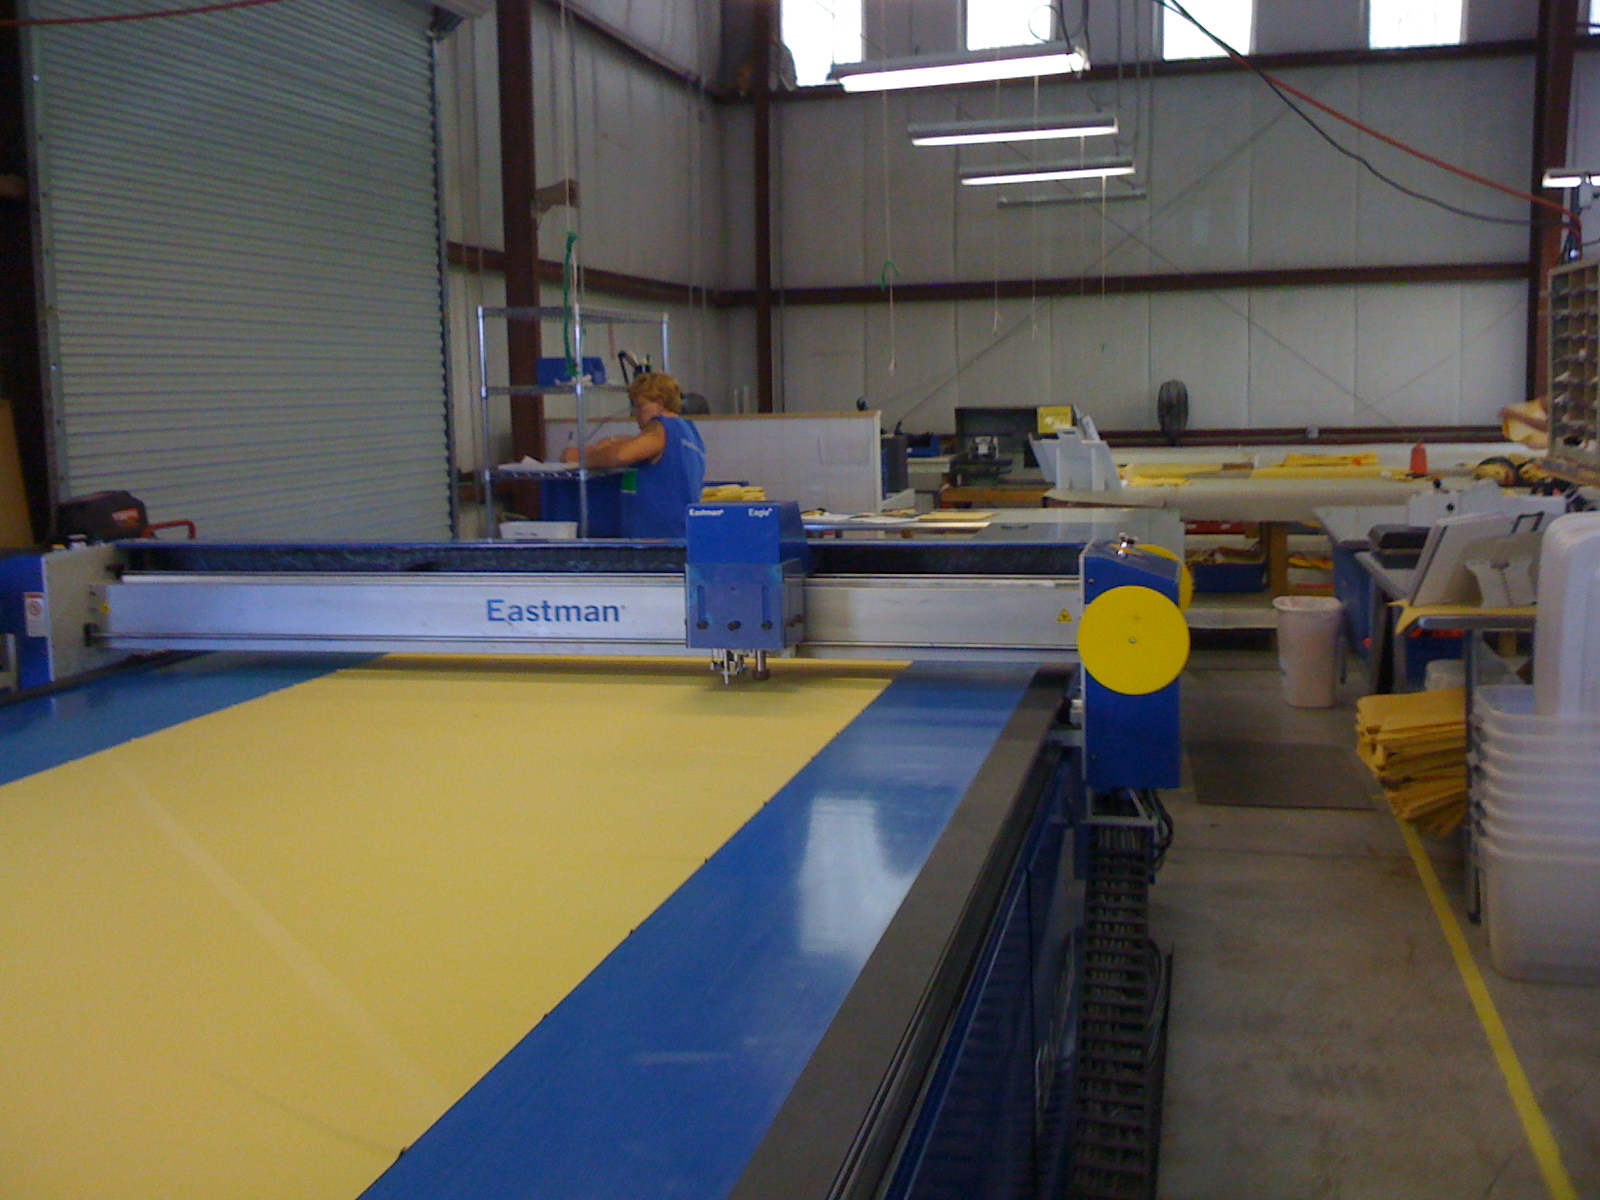
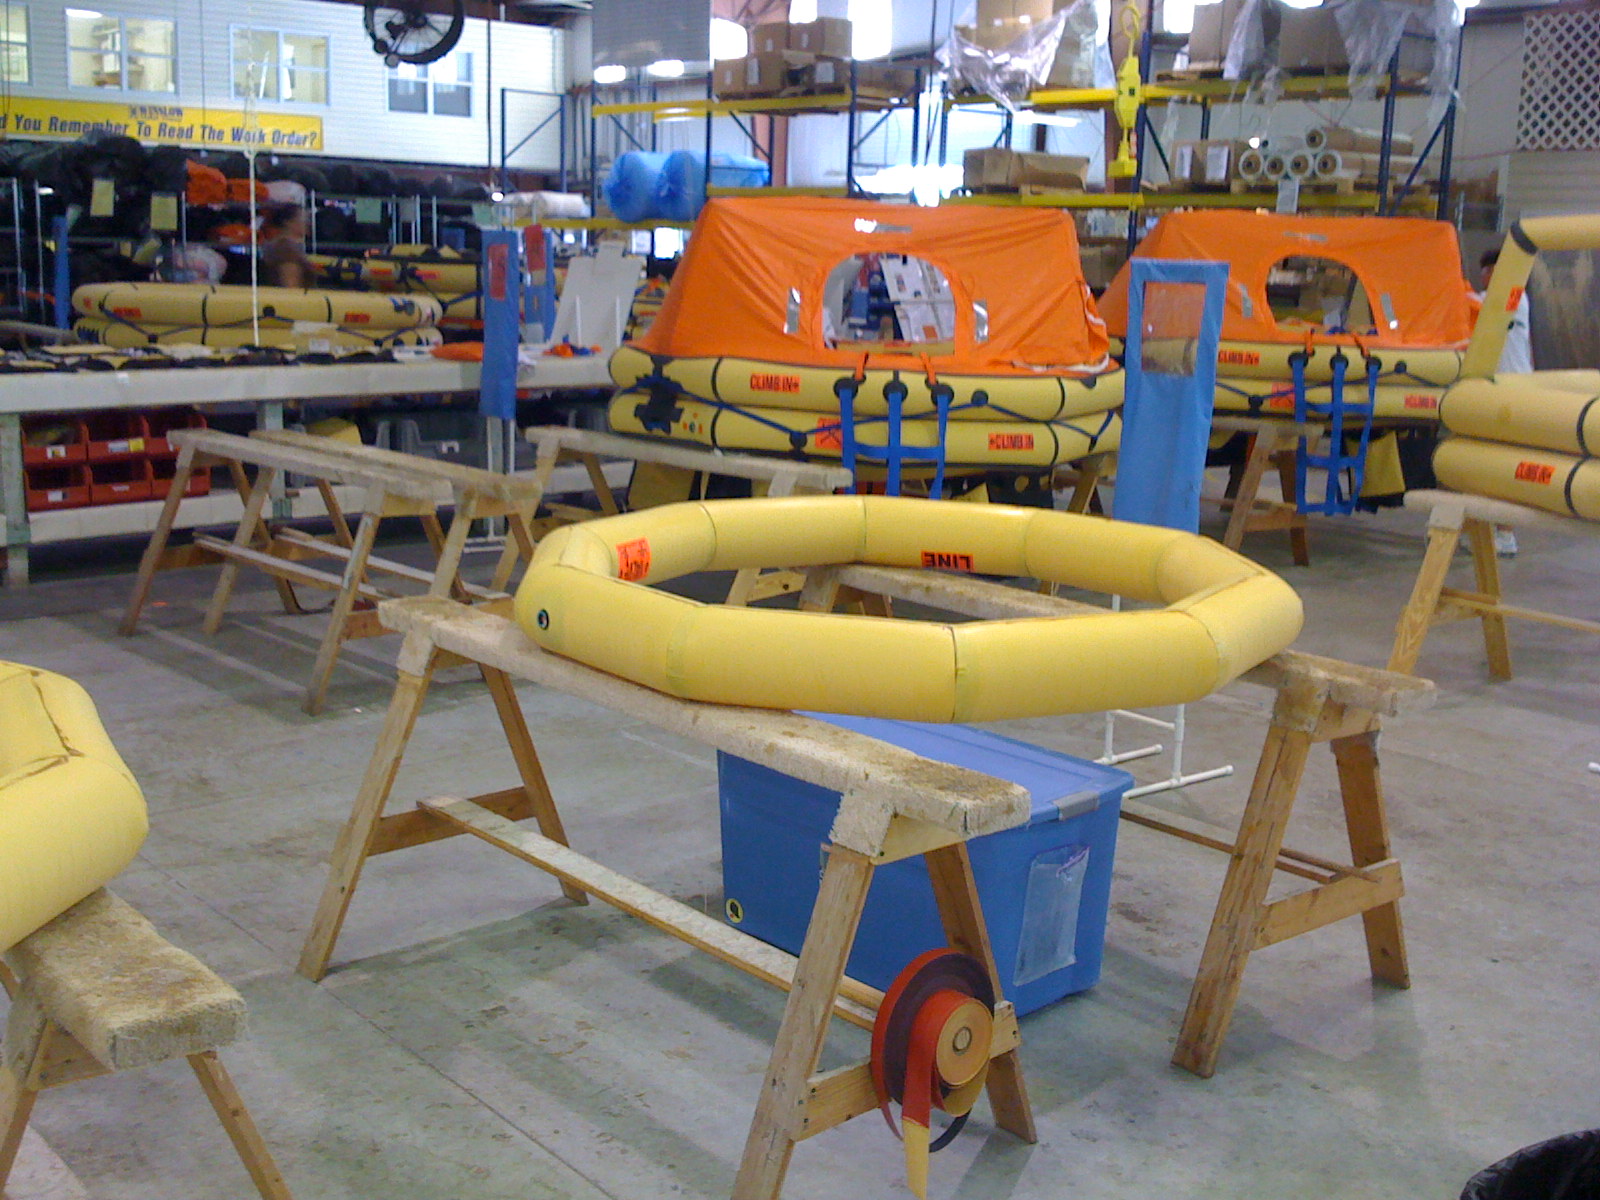
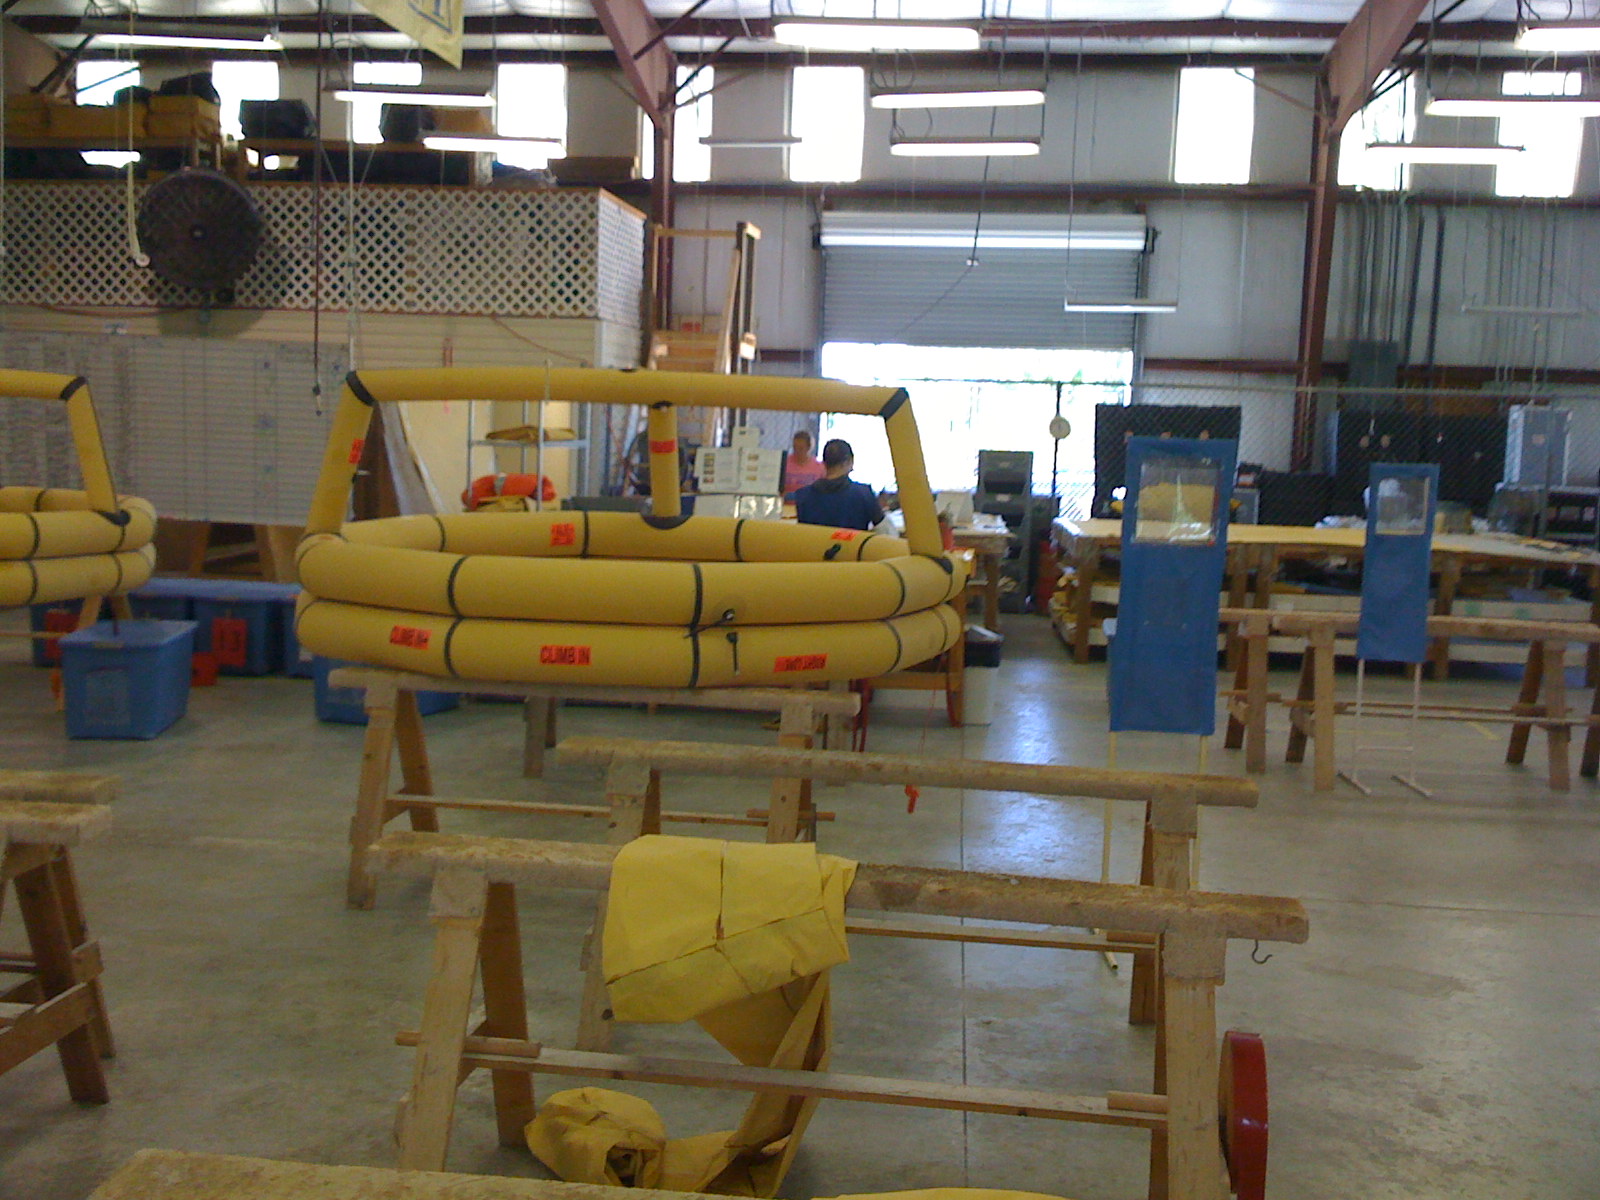
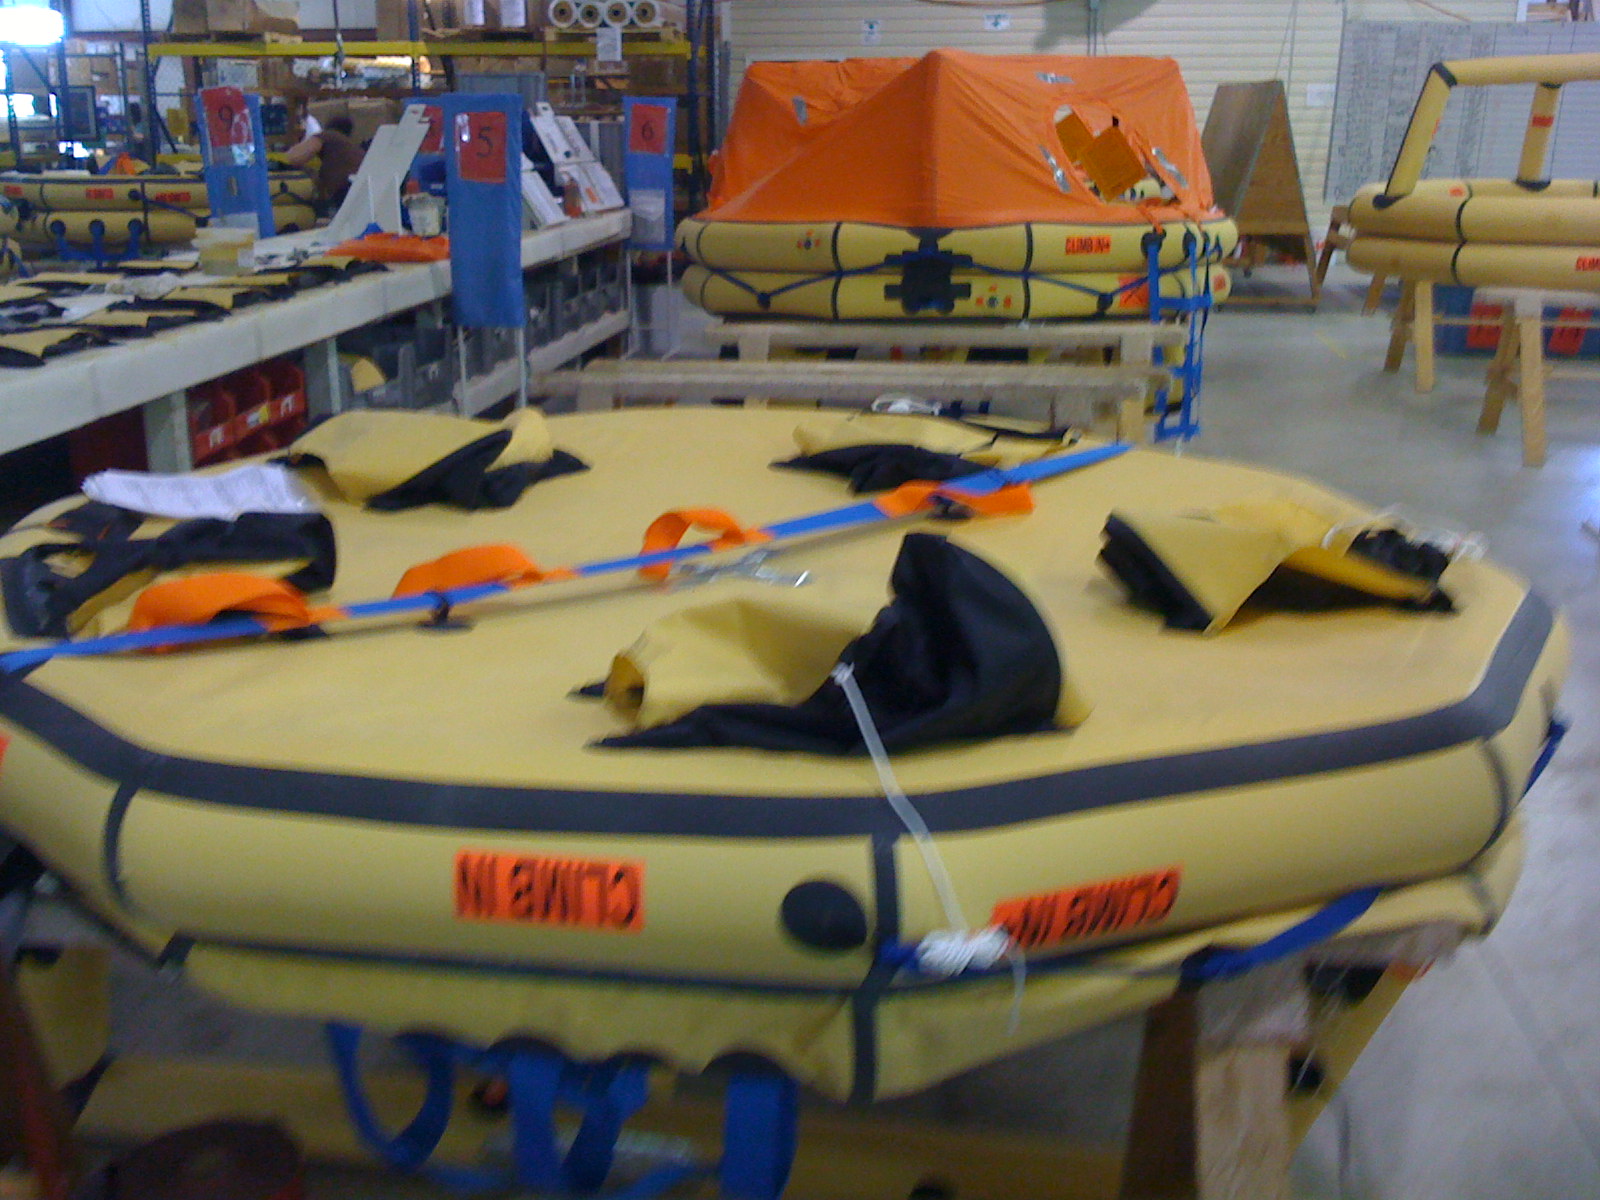
I was quite impressed with their manufacturing process and attention to detail. It is completely constructed by hand with the exception of their new precision laser cutter. The laser cuts the material into it’s various parts, from there it is hand assembled.
Here are the pictures:
Laser cutter for all the patterns…
The first stage of a raft construction…tube number 1.
Two tubes assembled with canopy strut assembled
Raft bottom is facing up as they attach the water bags that act like stabilizers.
Life raft with canopy assembled:
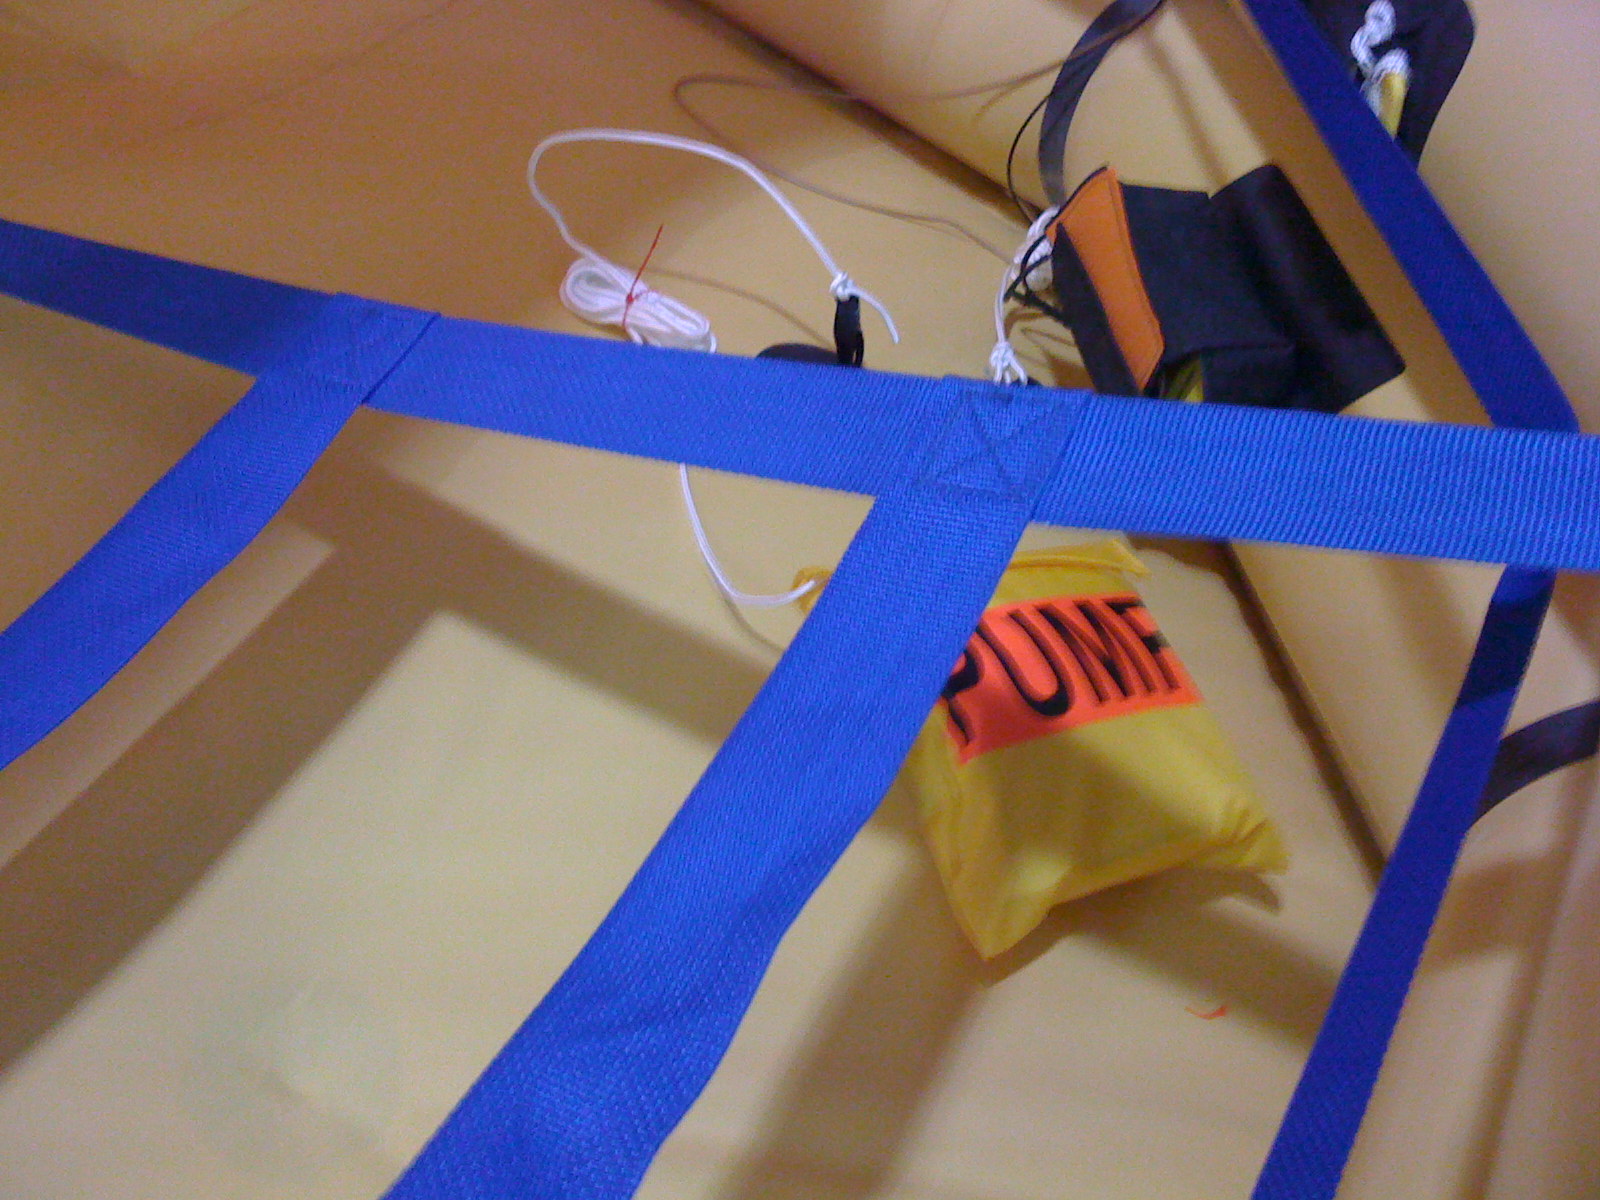
Inside the raft showing the hand pump and webbing.
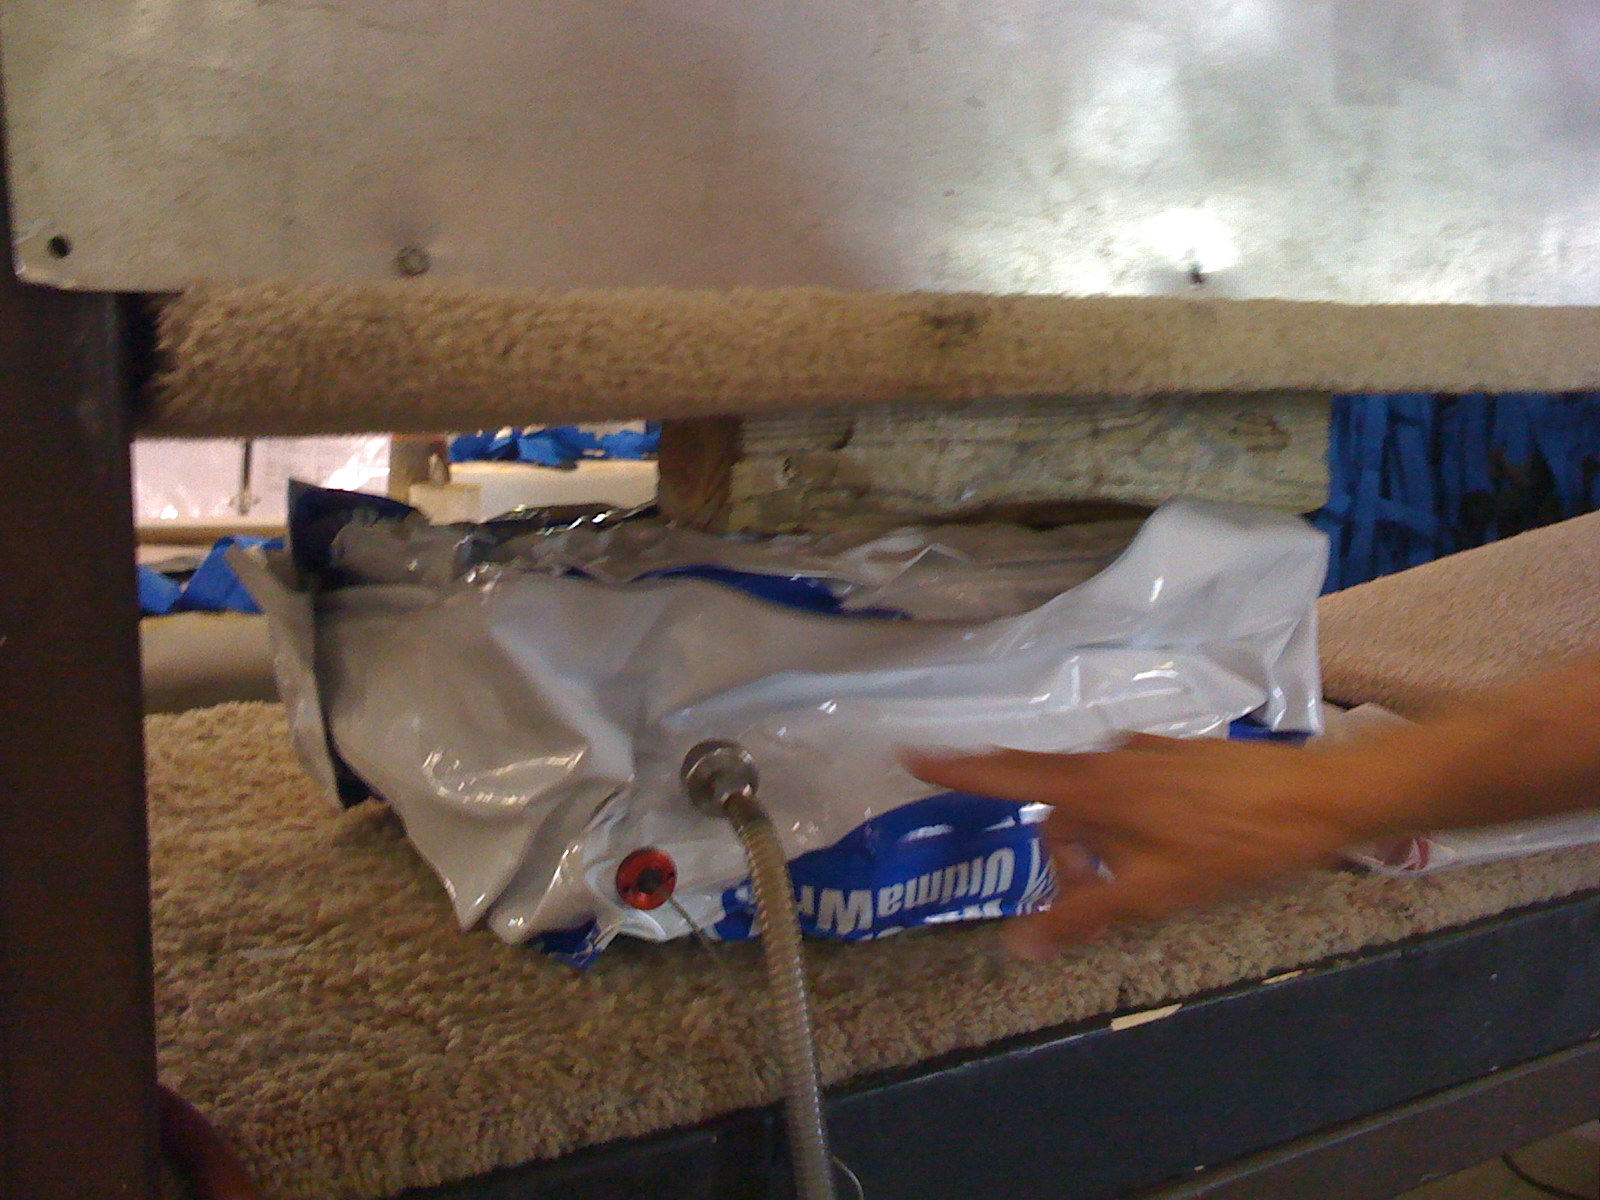
The last stage of the process vacuum sealing the life raft. This is good for three years.
April 18th flight from New Orleans, LA to Corpus Christi, TX
This was by far the most technically challenging flight leg I have ever flown.
Allan and I were stuck overnight in New Orleans during French Quarter Weekend. We made the best of it ![]() and then woke up early in the a.m. to check flight weather and check our feelings about this leg.
and then woke up early in the a.m. to check flight weather and check our feelings about this leg.
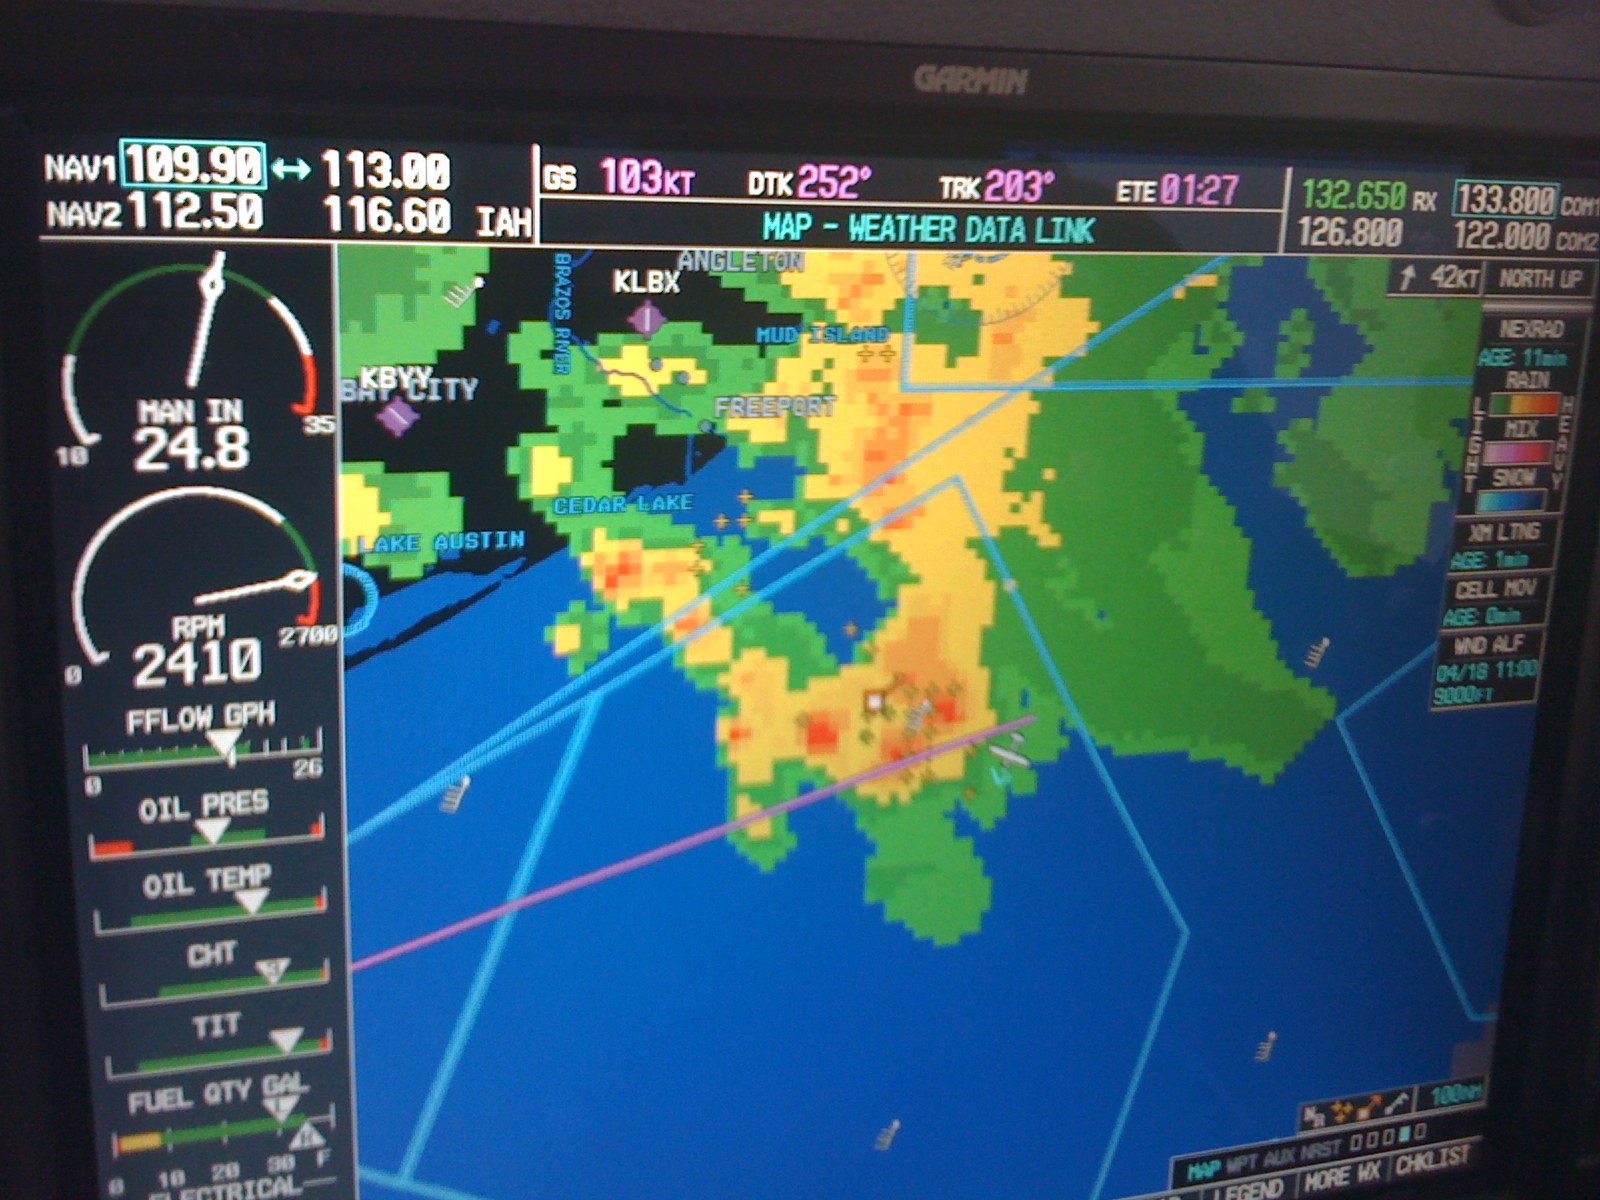
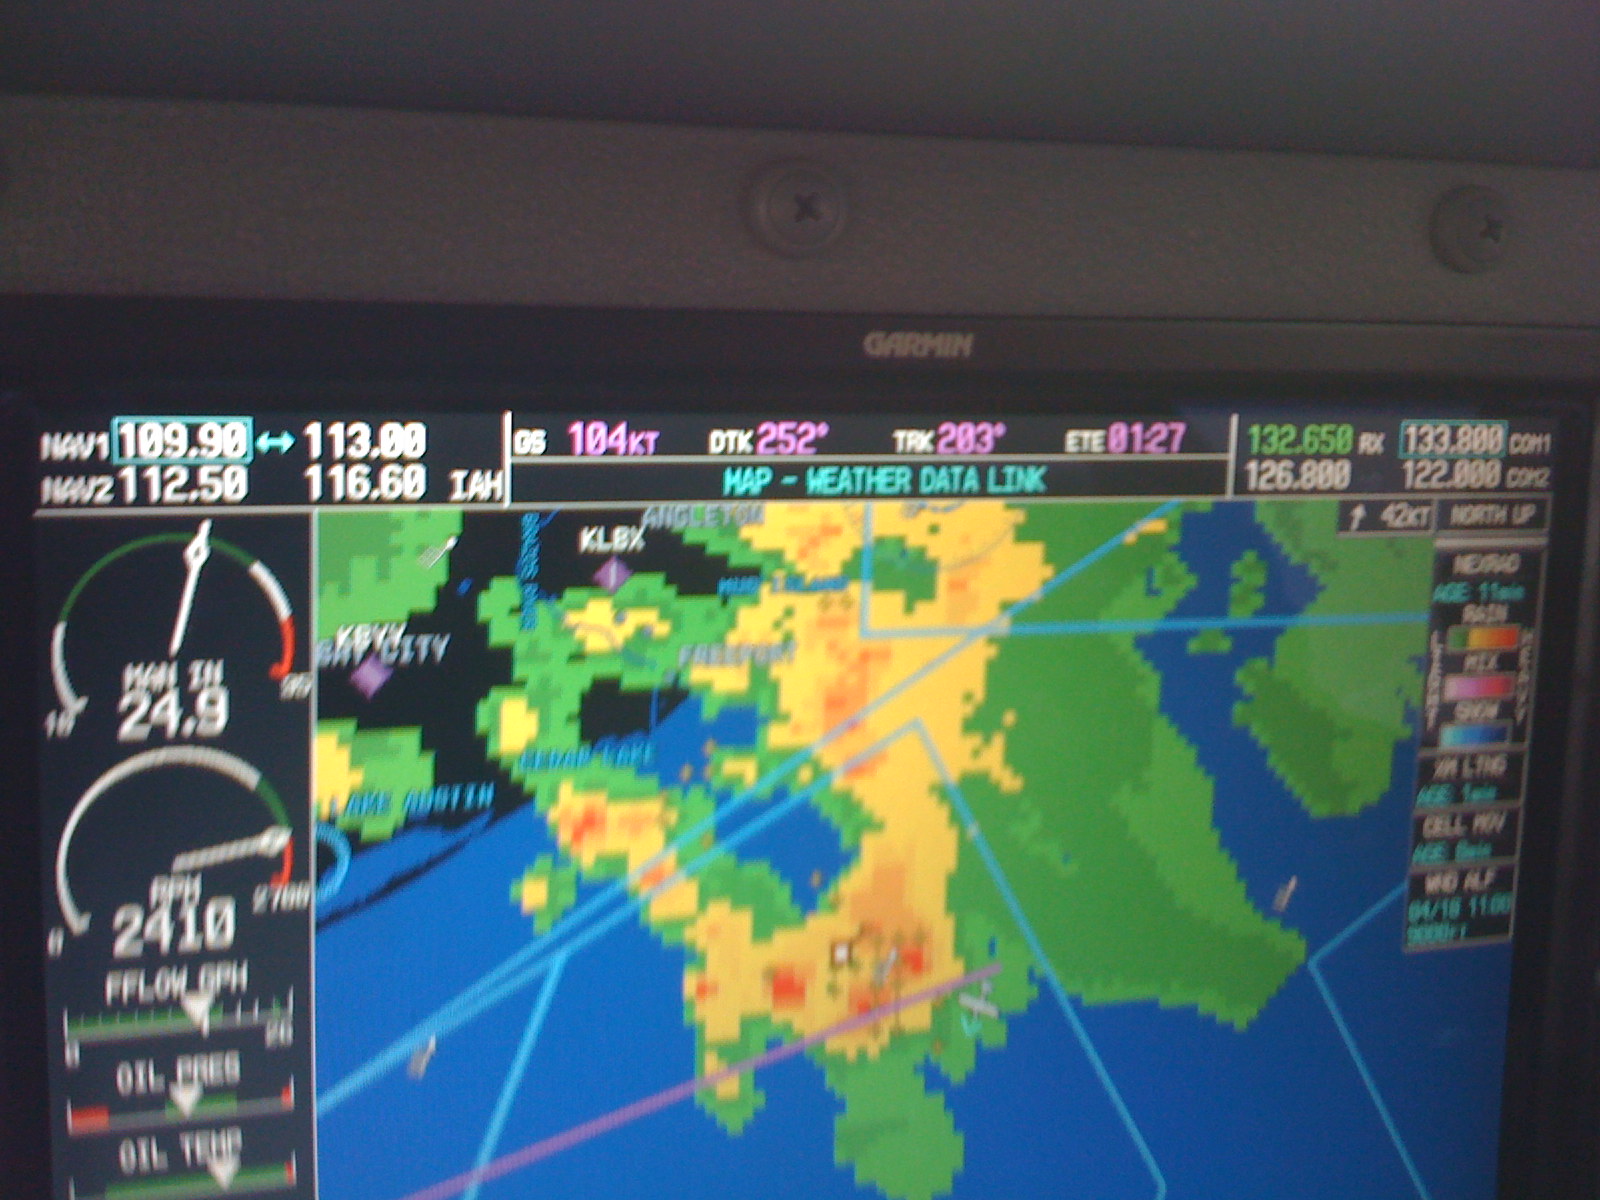
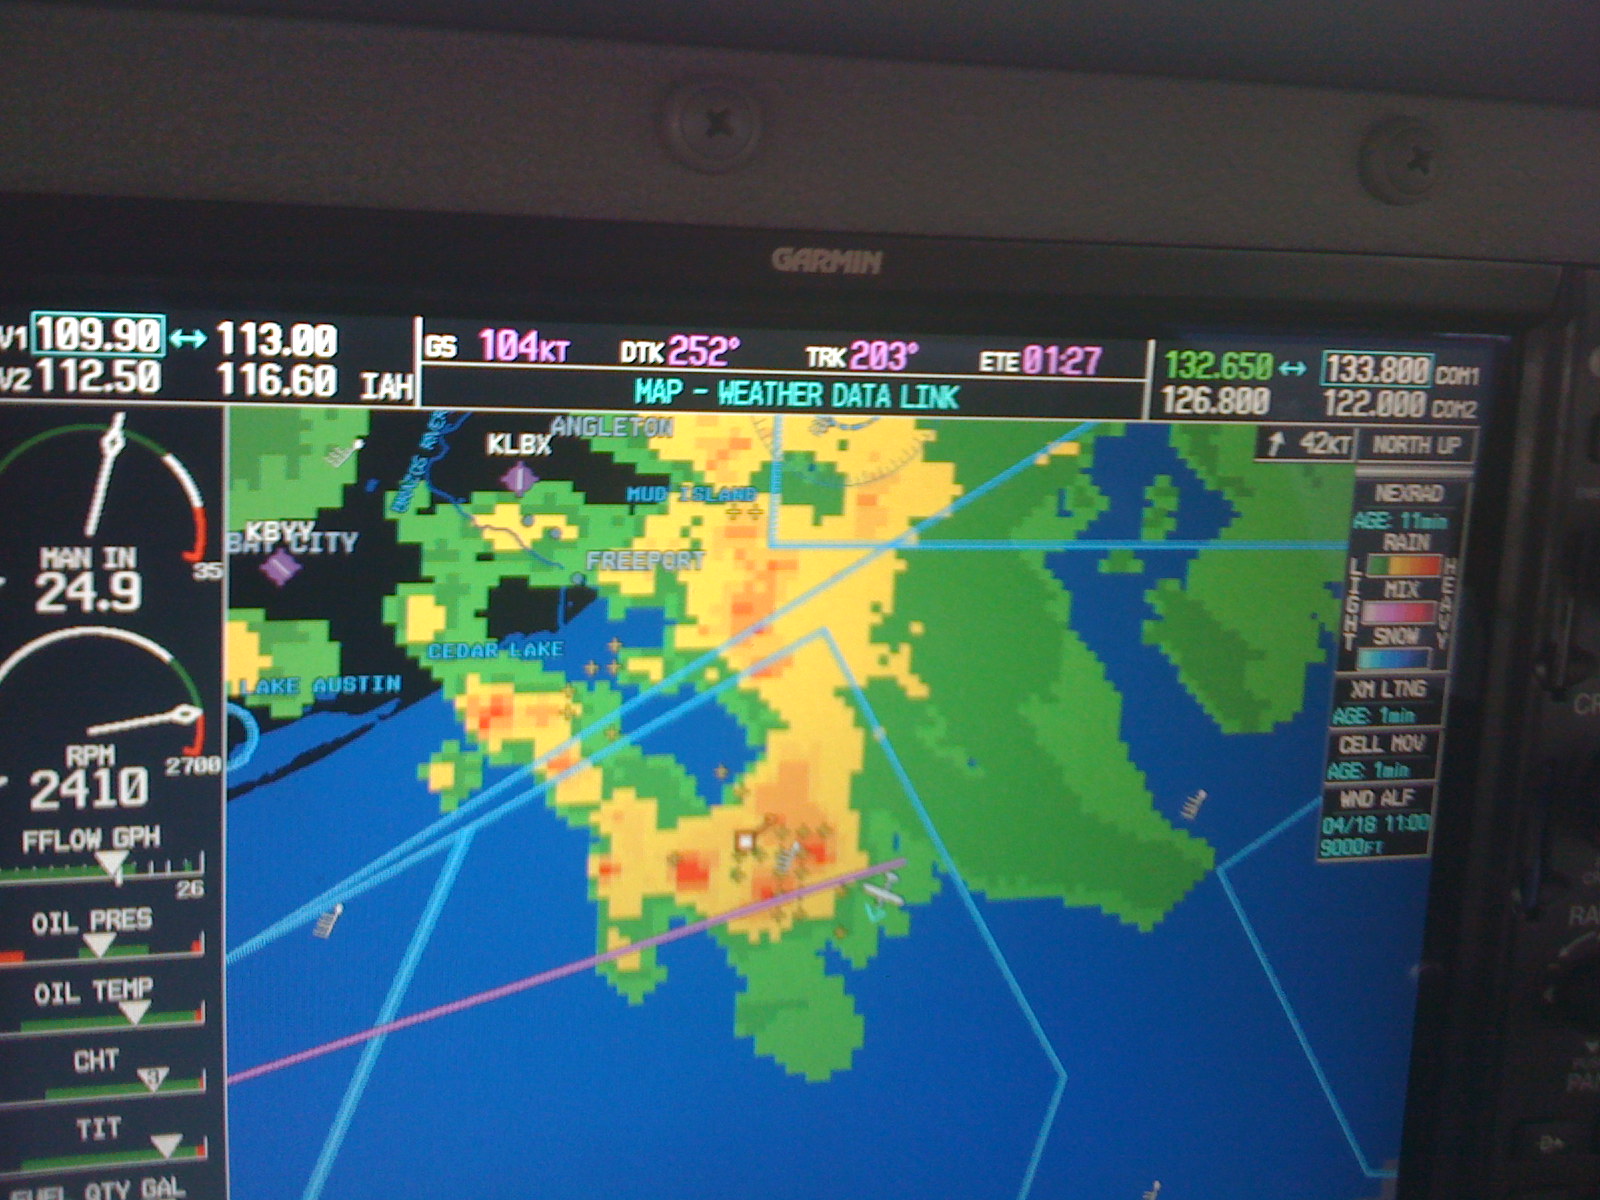
The main problem was a huge storm over Texas, pretty much running north to south, with severe thunderstorm activity along with hale and possible tornadoes. No big deal…NOT!
I took 3 weather briefings and decided we could out run the storm by flying south to Corpus Christi by hugging the coast a little off into the gulf. I then had Allan receive his own briefing to double check me.
We had plenty of fuel so we knew we could if necessary turn around or fly into Mexico as a last resort.
I’ve included the photo shots of our MFD of the storm we were flying through. If you look closely you can see our magenta line course and a little representation of Miss Behaving’ heading east into the Gulf of Mexico to avoid the lighting and cumulnimbus clouds.
More pics:
More pics:
Pictures and explanation of Flint Tip Tank installation from Spiders Aircraft Services
After some initial problems with the installation of my Flint Tip Tanks Spiders really came through. They paid for the cost of Cessna’s testing on the tanks after the cavitation issue. All is well.
I have since used them at least 10 times in my travels. The tanks have worked flawlessly and it’s lovely to have the extended range.
One note of interest is that it takes 23 minutes to pump each tank dry, this is a far better way to measure the fuel in the tank than by the gauges. When the tank is being pumped into the main you put the fuel selector on the opposite tank than the one you are pumping into.
Brent McAleese from Spiders was kind enough to take and edit the pictures below, along with an explanation of each photograph.
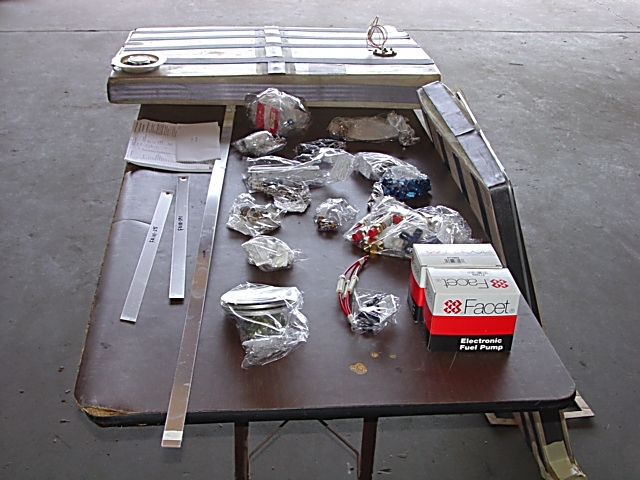
Flint Kit:
The flint kits come packaged with just about everything needed for installation - this also includes wiring that is not in the pics.
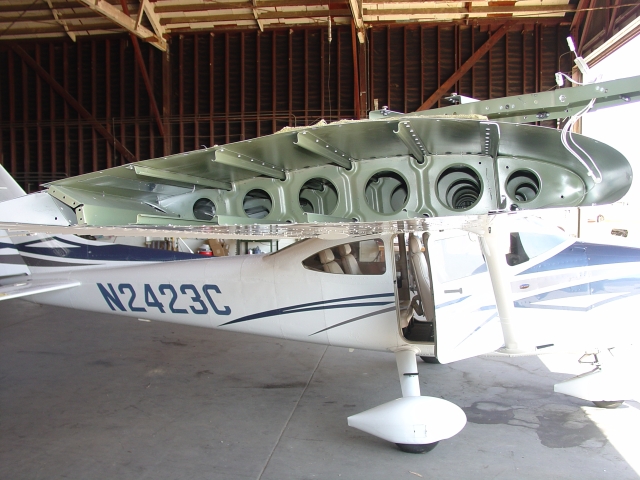
Outboard Rib
Since the tanks are installed by sliding into the wing tips, the outboard ribs need to be removed. Cessna has sure done a good job of priming all surfaces on their new planes.
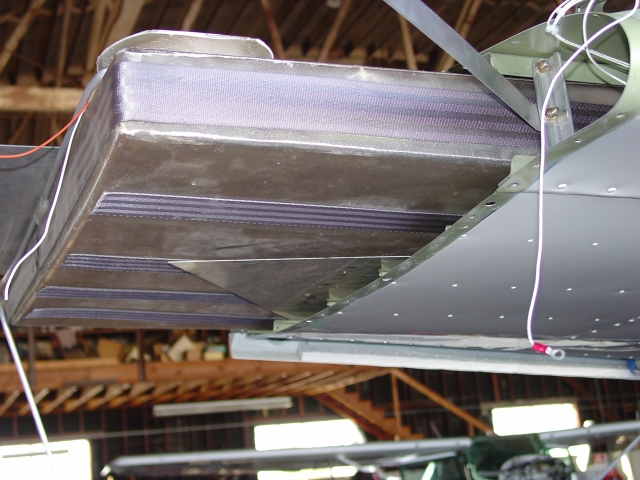
Installing Tank and Aids
The tanks are slid in with a little prying and banging and poking. The panels of sheet metal on either side help in sliding the tanks over stringers, rivets, etc.
New Access
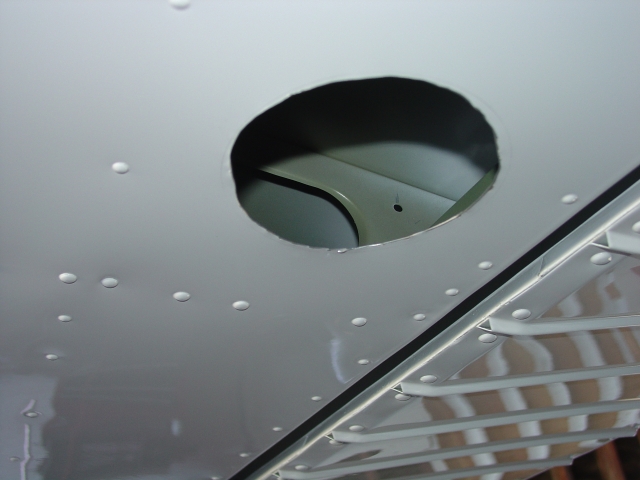
An additional access panel needs to be cut into each wing in order to install the fuel lines from the tanks to their pumps.
Fuse Holders
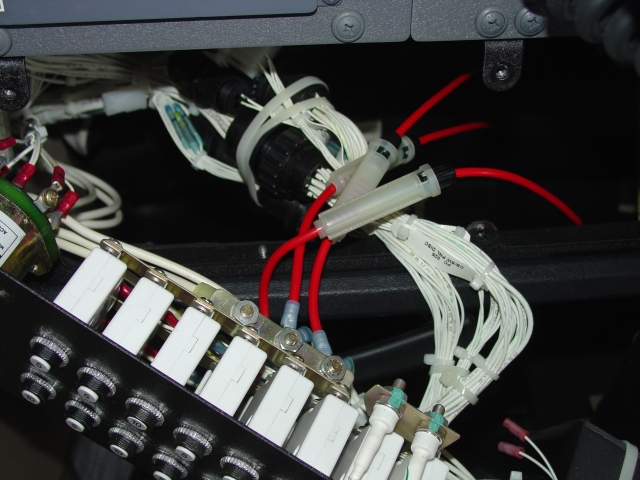
On older Cessnas the circuit breakers can be reached from behind the instrument panel On newer Cessnas the circuit breakers have a plastic cover over them. The only way to remove this cover is to remove the breaker assembly from the front of the panel. In the pics there are three fuse holders installed. Flint provides three, and these were installed while we were waiting on the fourth one to come in. Once the fuse holders were installed a hole was cut into the back of the circuit breaker assembly cover and the fuse holders were routed through. Two of the fuse holders are on Bus 1 and the other two are on Bus 2.
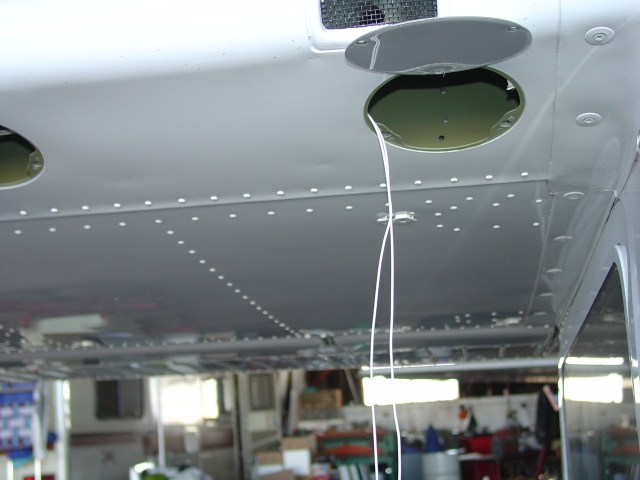
Wire Installed
There are two wires that need to be installed in each wing. One wire goes from the fuel float to the fuel gauge and the other from the fuel pump to the fuel pump panel switch. The float wire runs completely along in front of the forward spar while the one for the pump only runs half way. Both wires are routed into the cabin, down along behind the panel in front of the doors, and then forward to the instrument panel. The right wing wires are fairly easy to run since the gage and switches are on that side. The left wing wires need to be routed across the cabin behind the instrument panel. Three additional power supply wires are, of course, ran from the fuse holders to the switches and gauge. The last spare wire was coiled up and tie wrapped behind the pedestal. The nice thing about a newer Cessna is that there is not 30 years of accumulated dust and dirt falling on your face when installing the wires.
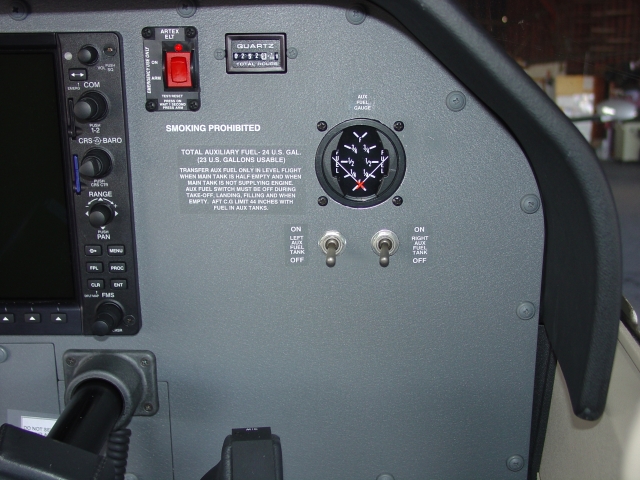
Panel Layout
As much as I’d like to tuck the gage and switches as close together as possible, there is a lot more to them then what is seen. In short, the components need to be separated to prevent physical interference with each other and the panel coaming. The hole for the gage is cut out by using a two piece die drawn together by a large threaded bolt. An initial hole is drilled in the panel. The die is then separated and place on either side of the panel centered on the hole. The bolt is threaded through the die halves and hole and turned. As the bolt is turned the dies are pulled together and literally punch out the hole for the gage. An instrument overhaul and installation shop at Gillespie Field, Instrument Overhaul, lets us borrow the die.
Fuel Pump
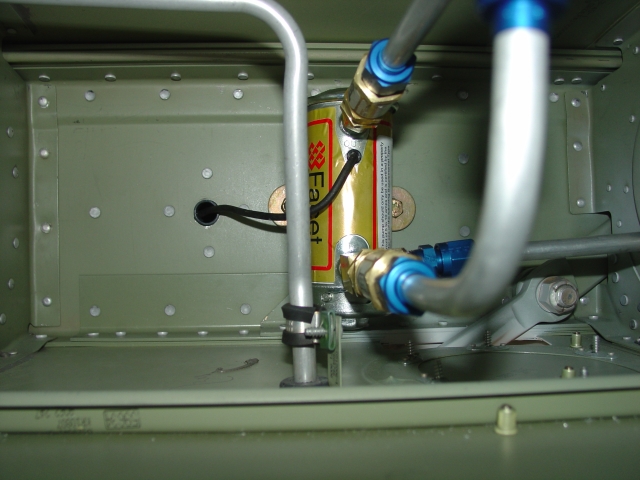
The fuel pump in each wing is attached behind the forward spar right about where the wing strut is located. These pumps only pump fuel from the aux tanks into the main tanks.
Fuel Lines
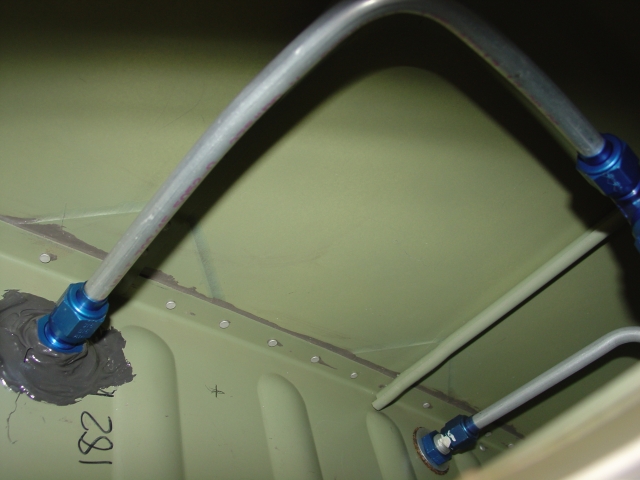
Nothing extraordinary with these pics. Just thought someone might like to see how the lines are plumbed into the main tanks.
Aux Drain
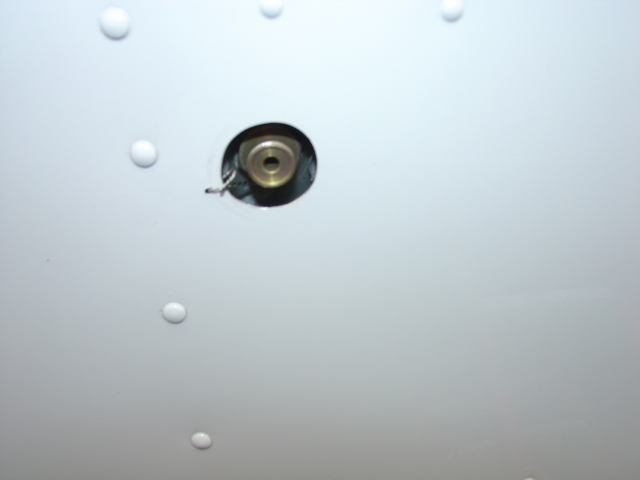
A hole needs to be drilled into the lower skin, obviously, for the aux tank drain. What is not seen in this pic is the number of drain holes drilled into the skin in case the tank leaks.
Fuel Cover
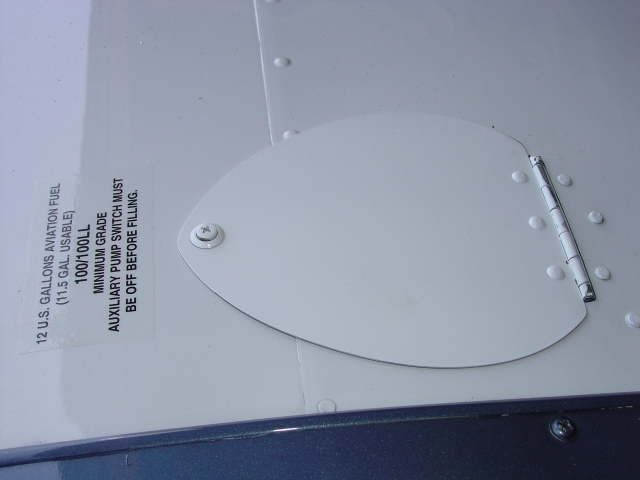
This is about as much of the aux tank the pilot is ever going to see.
